React is a JavaScript framework that makes creating graphical user interfaces easier. After being created at Facebook, it was made available to the general public in 2013. It is currently the driving force behind several well-known applications, like Instagram and Facebook, among countless others.
The React team's official launch script, Create-React-App (CRA), is the best choice for launching your React applications. However, there are some difficulties that developers run into while starting their project with the CRA, and that's what we'll be looking at today.
The absence of Webpack configuration, lack of customized build configs, prohibition of multiple extensions, and many more, are complications developers face when building with the CRA script. And these complications have led to the findings of alternatives for Create React App.
In this article, we will look at alternative create-react-App boilerplates for React and explore their strengths and weaknesses.
Customize Boilerplate
Before we go into the Alternatives of Create React App, why don't we look at how to create our boilerplate from scratch. With the help of a transpiler (Babel) and a bundler (Webpack), the major components of CRA, we'll see how we can initialize our customized boilerplate.
Prerequisites
- Webpack – facilitates the bundling of our code into a single file.
- Babel - is a tool that transforms ECMAScript 2015+ (ES6+) code into a JavaScript version that older JavaScript engines can execute.
- Node.js - helps in producing a package.json file and using
npmto install Node modules
Create a project folder and initialize package.json
Any project folder can be created; simply navigate to the folder, execute npm init in your current folder to generate a package.json file, and then save the project.
Install Webpack
Your code and all of its dependencies are combined into one bundle file by Webpack.
npm i -D webpack webpack-cli webpack-dev-server html-webpack-plugin
We won't utilize any webpack-related dependencies in production; they will all be development-related requirements. After the build is complete, webpack is no longer required. To launch the webpack command line interface, webpack-dev-server, run a local server, and generate an HTML template to serve our bundle; we require webpack-cli.
Install Babel
Babel transforms ECMAScript 2015+ code into a backward-compatible variant of JavaScript in both modern and vintage browsers.
npm i -D @babel/core @babel/preset-env @babel/preset-react babel-loader
We will create a file called .babelrc in our root directory and place the following code because we are working with babel-related dependencies.
{
    "presets": [
        "@babel/preset-env",
        "@babel/preset-react"
    ]
}
Install react and react-dom
The two runtime dependencies required are react and react-dom, which the command below will install within our project.
npm i react react-dom
Install CSS Loader
A few dependencies that will enable us to process CSS files will now be installed. Style-loader and CSS-loader must be installed. For Webpack to handle CSS and style files, this is required. These will also be development-related dependencies.
npm i -D style-loader css-loader
Create an index.html file
Make a ``public" subdirectory in the project's root directory. Make an index.html file inside that, and place the code below.
<!DOCTYPE html>
<html lang="en">
<head>
    <meta charset="UTF-8">
    <meta name="viewport" content="width=device-width, initial-scale=1.0">
    <title>React Application</title>
</head>
<body>
    <div id="root"></div>
</body>
</html>
Create an App.js file
Create a folder called src and place a file called App.js inside of it. To it, add the following code:
import React from "react";
import "./App.css";
const App = () => {
  return (
    <div>
      <h1>Hello World!</h1>
    </div>
  );
};
export default App;
Create an index.js file
Under the src directory, create the index.js file. On this file, we will now configure React and ReactDOM. Put the next piece of code there.
import React from 'react';
import ReactDOM from 'react-dom/client';
import App from './App';
const root = ReactDOM.createRoot(document.getElementById('root'));
root.render(
  <React.StrictMode>
    <App />
  </React.StrictMode>
);
Create webpack.config.js file
The following code should be added to a file called webpack.config.js created at the project's root. This file contains configurations for setting up the development server and combining the files into a single file.
const path = require("path");
const HtmlWebpackPlugin = require("html-webpack-plugin");

module.exports = {
  entry: "./src/index.js",
  output: {
    path: path.join(__dirname, "/dist"),
    filename: "blog.js",
    clean: true,
  },
  devtool: "source-map",
  module: {
    rules: [
      {
        test: /\.js$/,
        exclude: /node_modules/,
        use: {
          loader: "babel-loader",
        },
      },
      {
        test: /\.css$/i,
        use: ["style-loader", "css-loader"],
      },
    ],
  },
  plugins: [
    new HtmlWebpackPlugin({
      template: "src/index.html",
    }),
  ],
};
Update package.json file
"start": "webpack-dev-server --mode development --hot --open",
"build": "webpack --mode production"
We've set the mode to development. The -hot option lets Webpack load the app immediately after any changes are made inside the app, and the -open flag allows Webpack to open the tab in the browser when the start script is executed. To create a compiled bundle in the dist directory that can be served over the web, we just set the production mode for the build script.
Your React application should run on port 8080 when you run the start script. Kudos for creating a React application from scratch without using the create-react-app script. Although with one command we can archive this with the CRA script and its possible alternatives.
Alternative: Vite
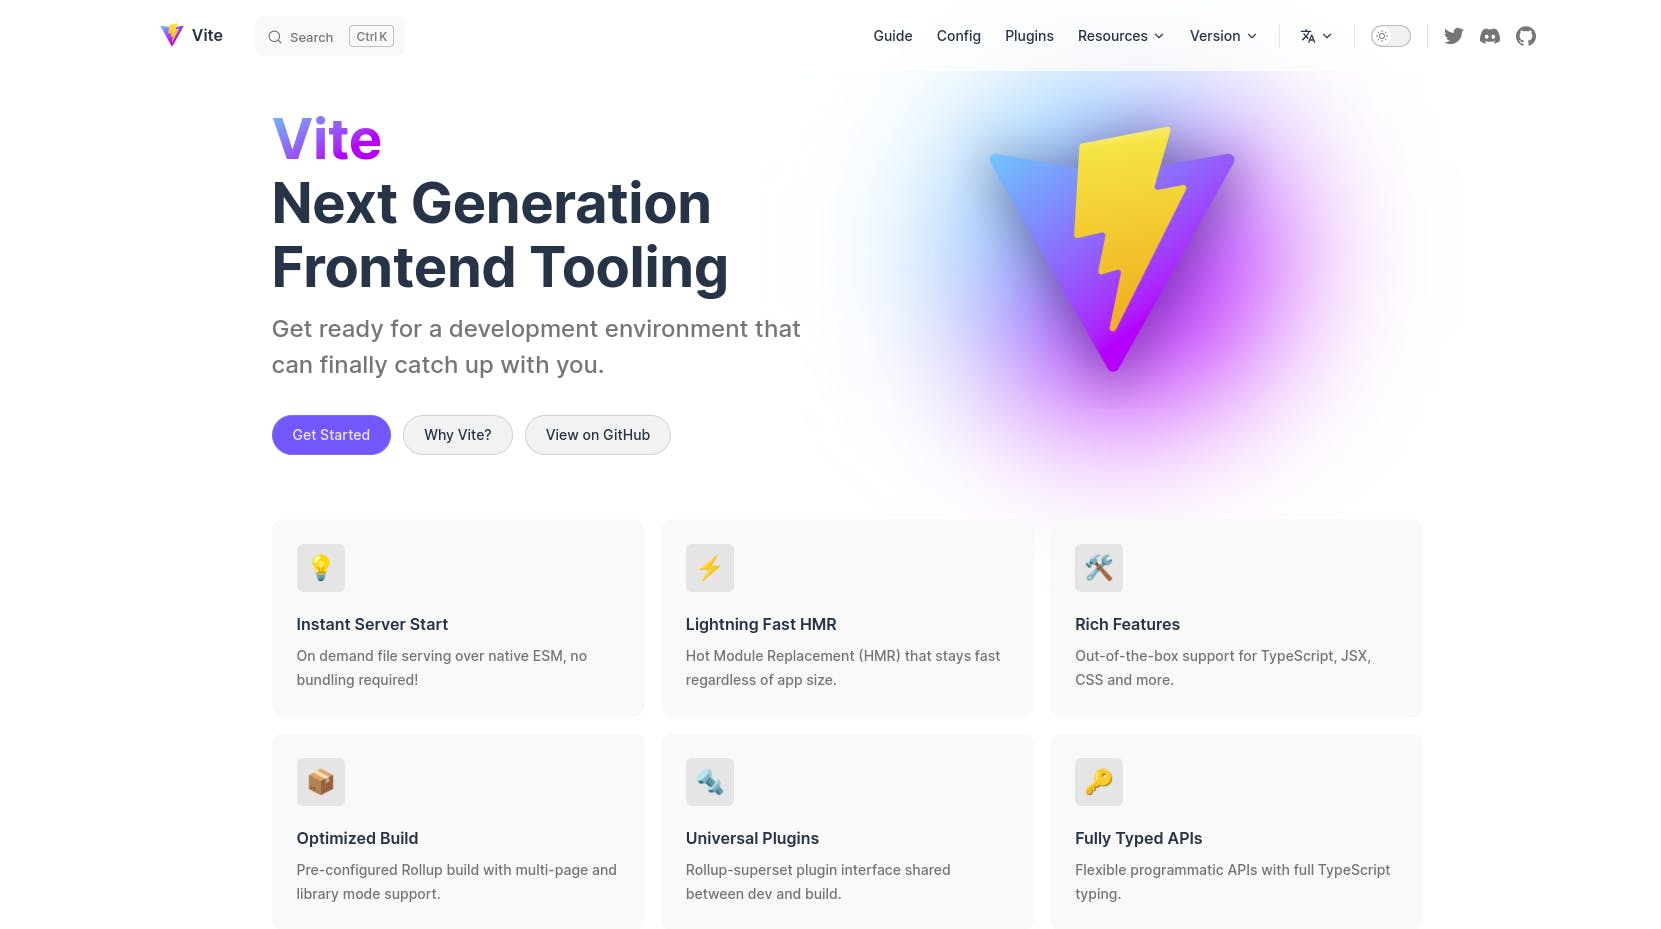
Vite is a new player in the frontend framework market tool. Vite is a universal solution that can bootstrap apps from many tech stacks, and it now supports Vue, React, and Preact templates.
Getting Started
To generate the boilerplate, we just need to run the command:
npm create vite@latest
After providing your "Project name," you'll be prompted to select a framework as seen in the image below:

A React project is created in the directory when the React option is chosen. We must enter the directory and install the vite package as a dev dependency after the repository has been configured.
cd react-vite
npm install
The dev script may then be executed as follows:
npm run dev
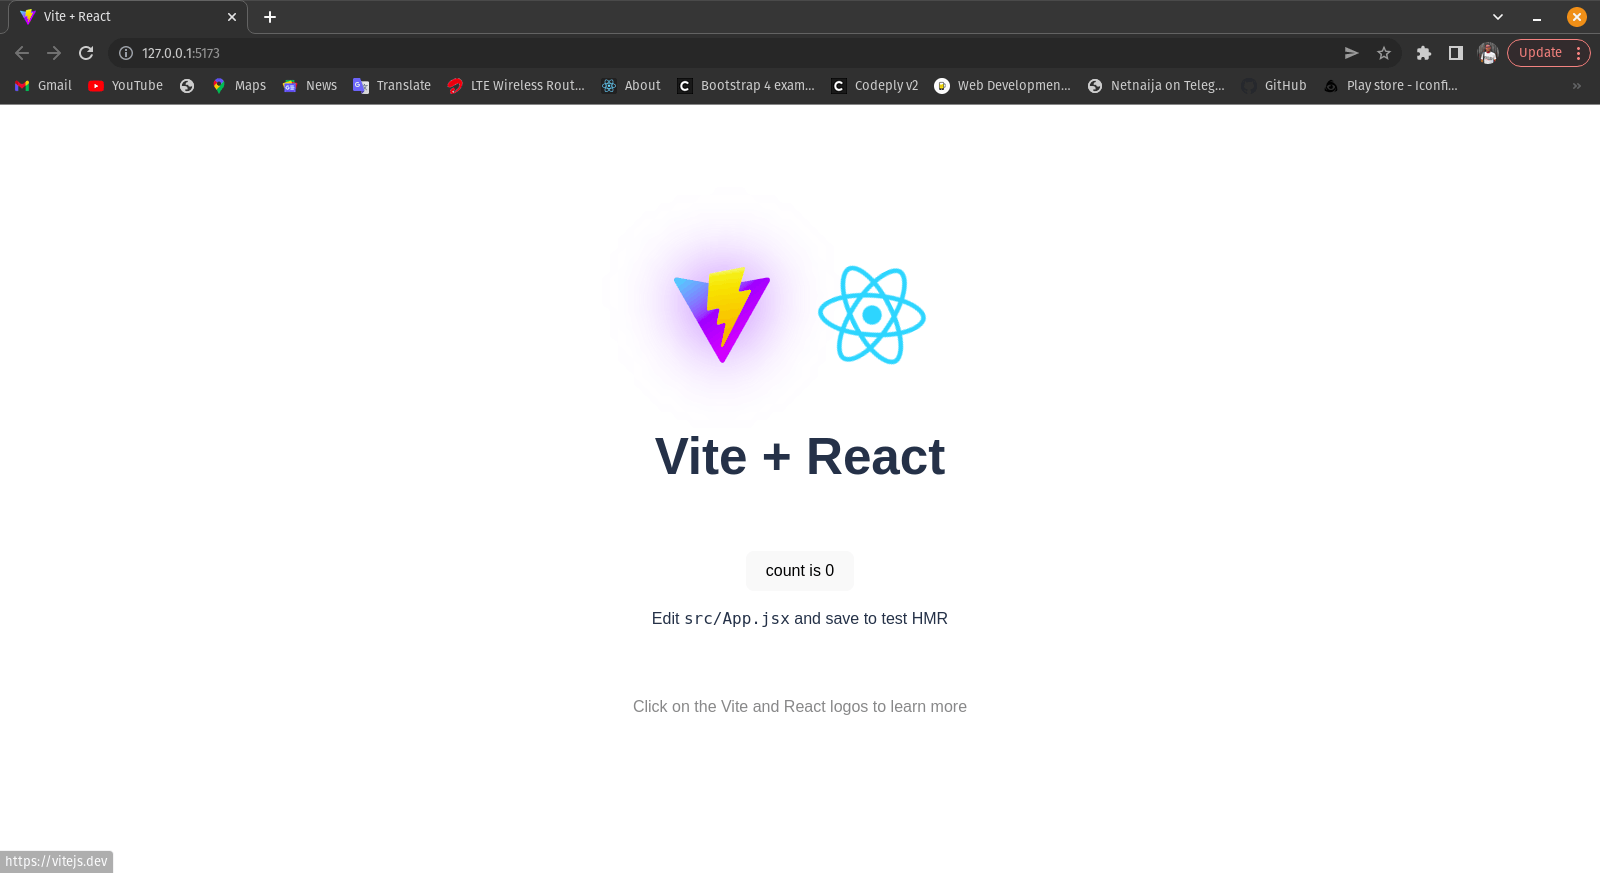
This brings up the default UI at 127.0.0.1:5173 or localhost:3000, depending on your Nodejs/Vite version.
Pro's
- Developer experience (DX) is prioritized.
- Typescript is supported out of the box.
- Automatic build optimization is enabled. '
- Preprocessors and CSS import using CSS modules are supported.
- Wasm and web workers are supported.
Con's
- Because the build process is based on cutting-edge technologies, making changes as needed may be complex and new.
- It is difficult to import SVG files as React Components without plugins.
- Every JSX file must "Import React"
- Only JSX files are supported for React.
Open Source Session Replay
_OpenReplay is an open-source, session replay suite that lets you see what users do on your web app, helping you troubleshoot issues faster. OpenReplay is self-hosted for full control over your data._
Start enjoying your debugging experience - start using OpenReplay for free.
Alternative: Gatsby
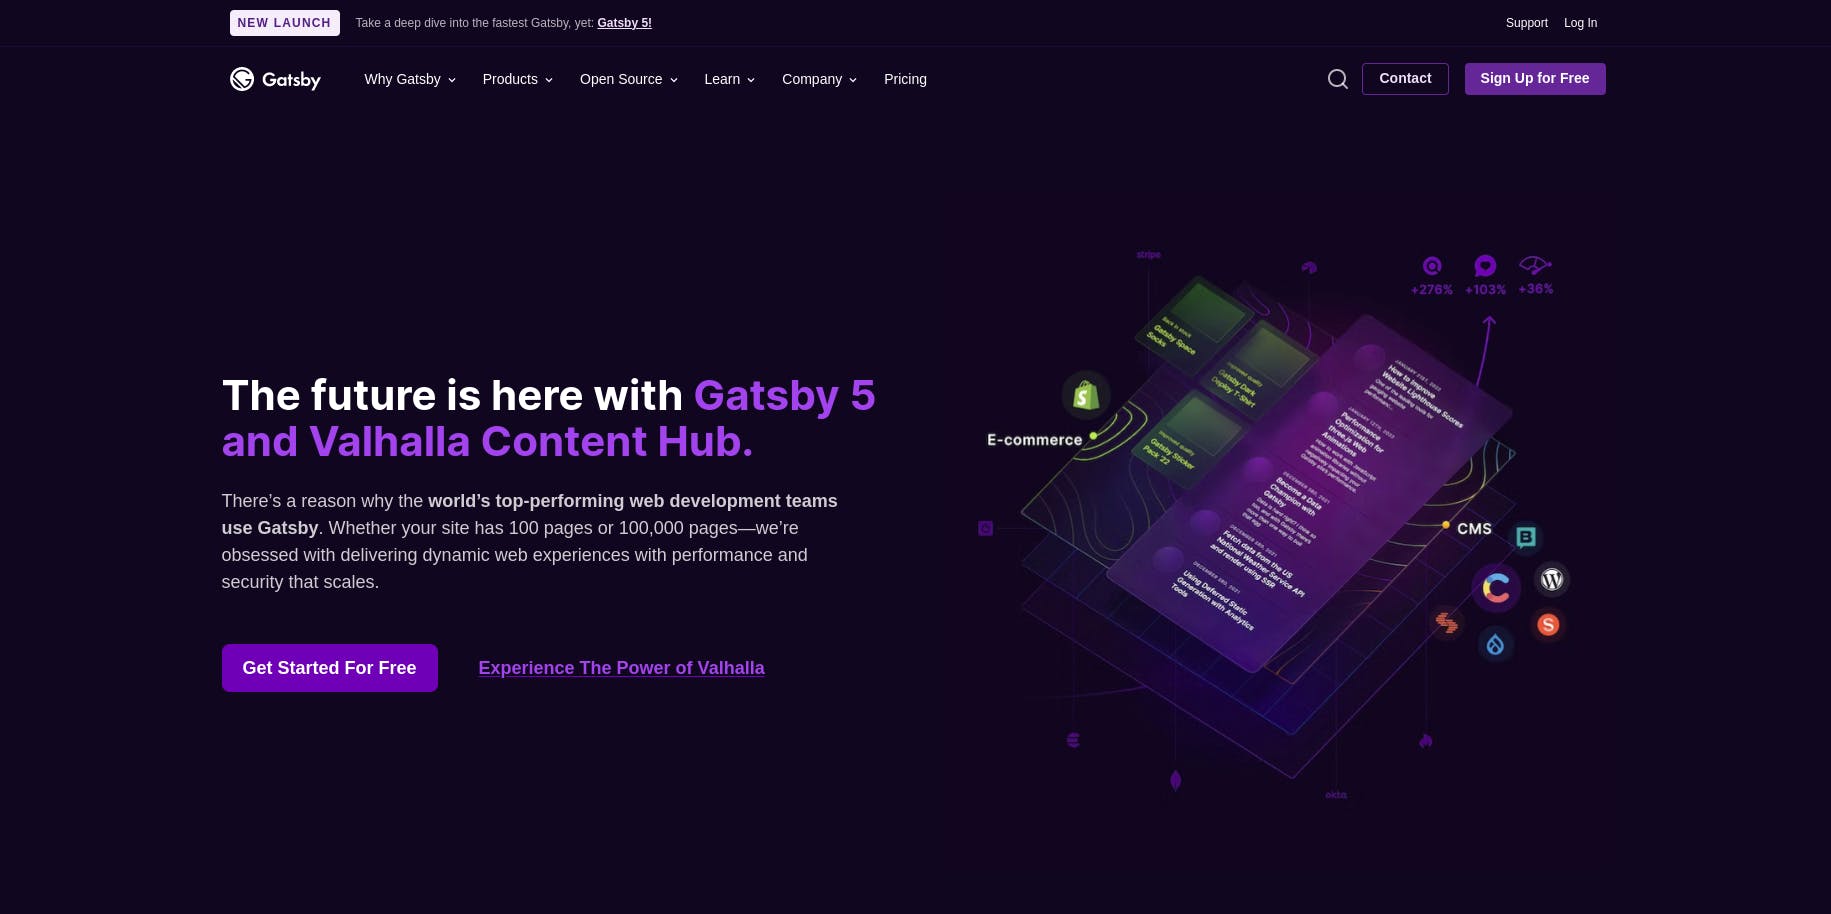
Gatsby is a free, open-source React framework created to aid developers in creating effective websites and applications. Gatsby is a static site generator that uses React, to put it simply. Using a React-based framework and cutting-edge data layer that makes combining various content, APIs, and services into one web experience relatively simple, Gatsby enables developers to construct quick, safe, and robust websites.
Getting Started
First of all, find a starter theme to use for your static site (although there's a default starter, but for our site to look nice, we'd try out another starter theme), then you generate a site based on the theme by running the command below:
gatsby new {your-project-name} {link-to-starter}
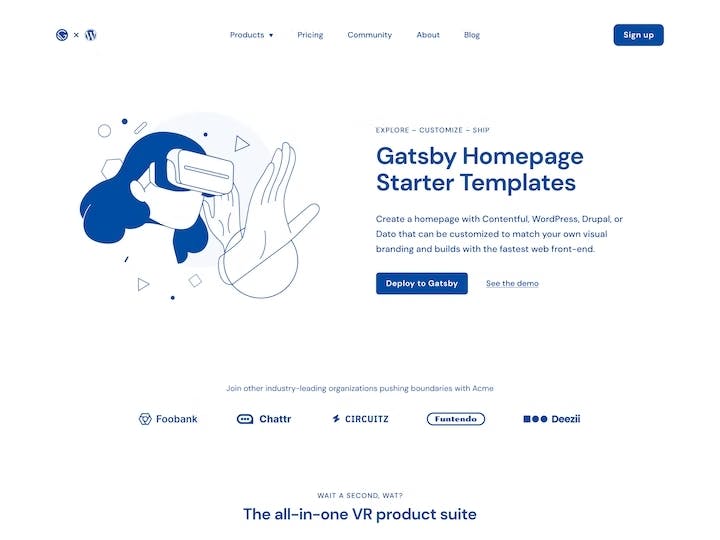
For this tutorial, we would use a wordpress-hompage stater theme.
npx gatsby new my-gatsby-site https://github.com/gatsbyjs/gatsby-starter-wordpress-homepage
To run our Gatsby site:
cd my-gatsby-site
gatsby develop
Pro's
- Integration of APIs, services, and content in a seamless manner.
- Support PWA, Jamstack, eCommerce, Headless CMS
- Better user experience
- Support for user stater templates
Con's
- Build time increases as content volume rises
- Cost for software products
Alternative: Create Next App
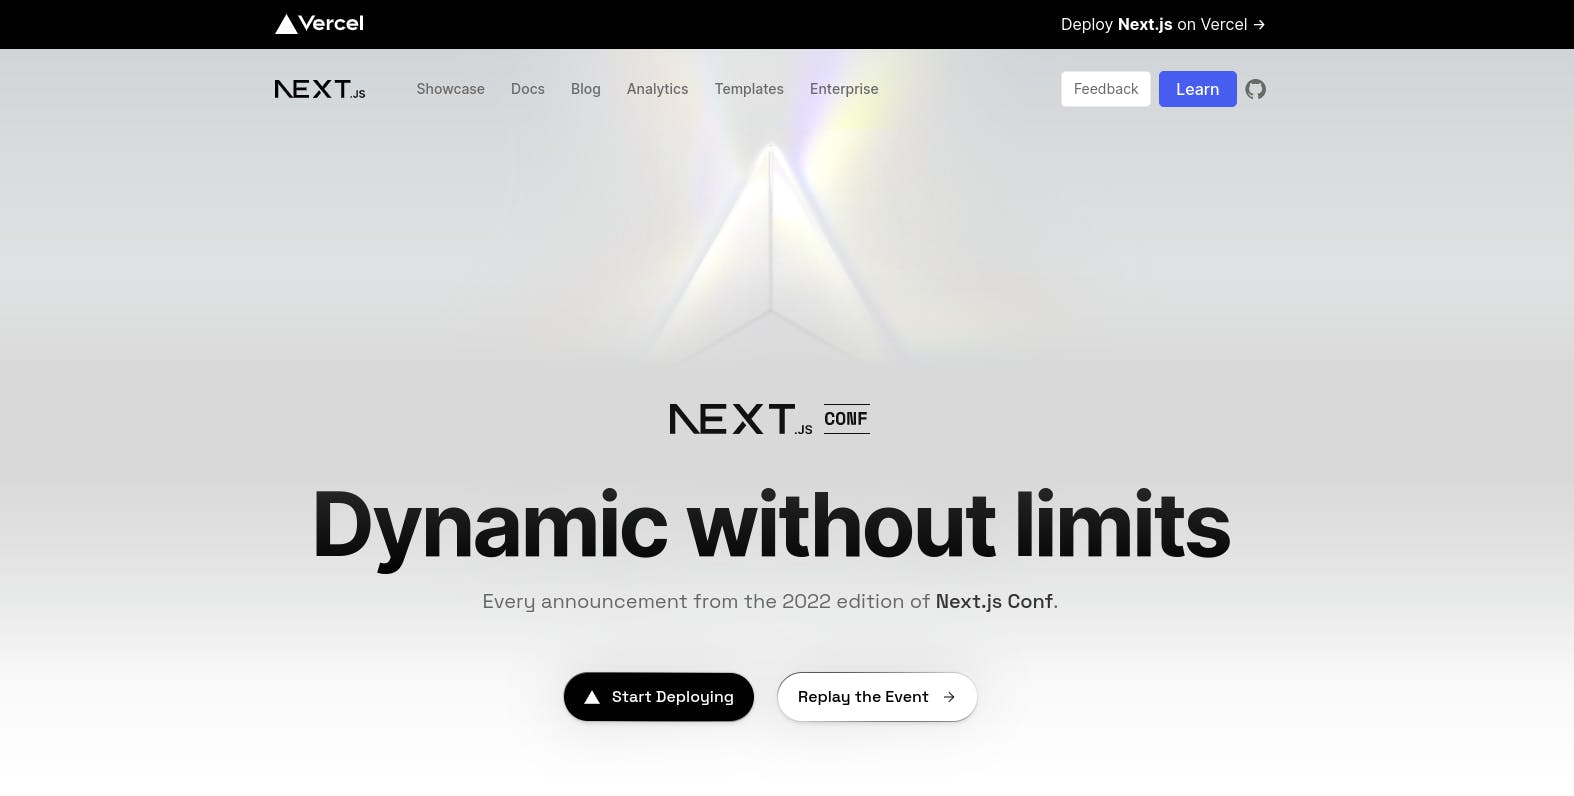
Create Next App is the best starting point If the requirement is a little more complex, such as server-side rendering or static site-building. A trustworthy technique to bootstrap a general SPA with client-side rendering is with Create Next App. It is a simple CLI utility for launching Next.js programs.
Getting Started
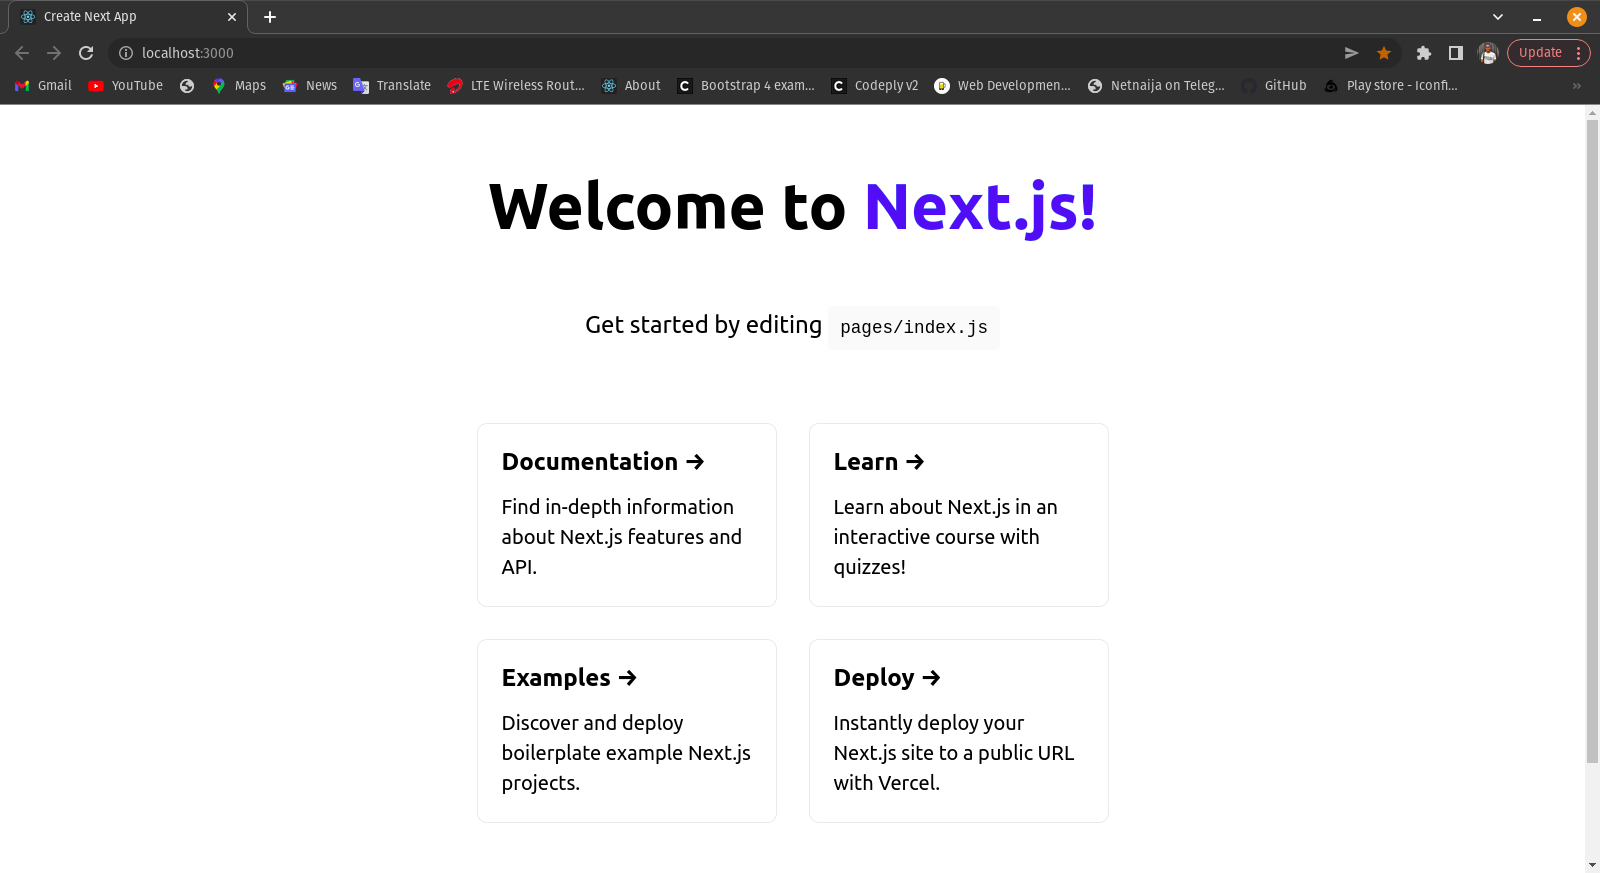
We only need to execute the following command to produce the boilerplate:
npx create-next-app@latest next-app
To start a dev server, we run the following:
cd next-app
npm run dev
Pro's
- Out-of-the-box support for a rapid refresh and fetch.
- Rendering was done on the server using the
getServerSideProps()function.
Con's
- There is no optimization for applications that require ongoing data retrieval.
- Refreshing SSR feature-related learning curve.
Alternative: React-Boilerplate
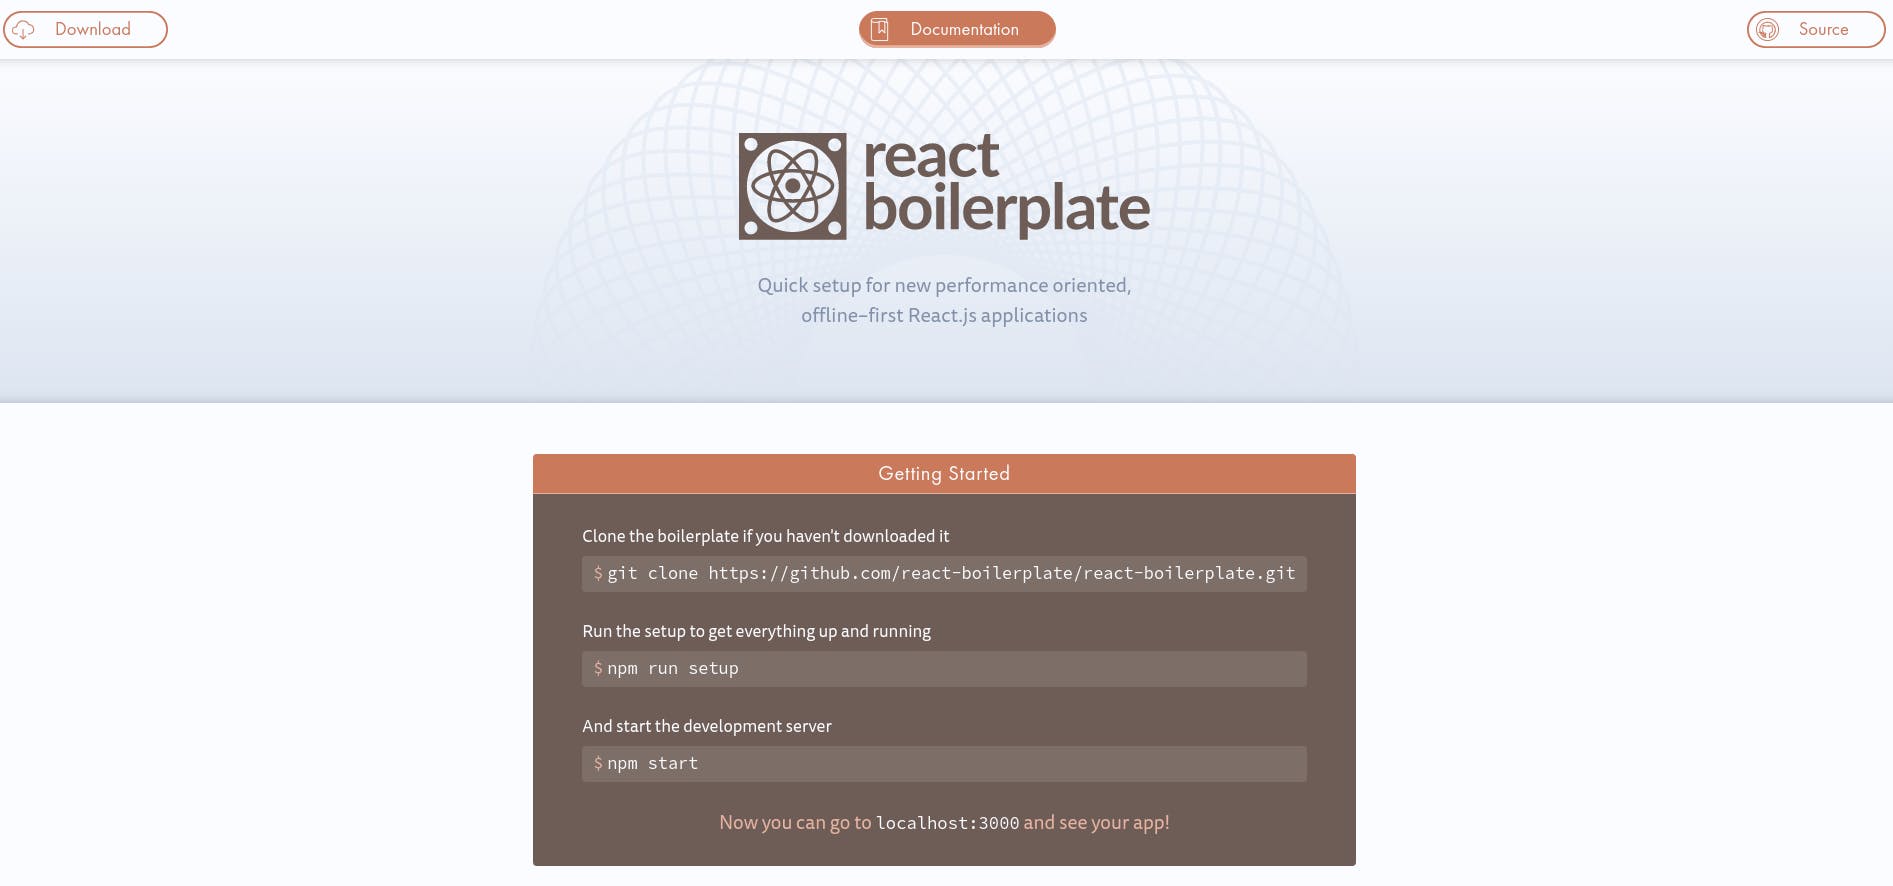
React-boilerplate is another tool that should be on the list for starting a React project. React-boilerplate portrays itself as the future of quick web apps on its home page and boasts that its software is accessible even when there is no network connection.
Getting Started
The methods to set up a new code repository are slightly different, even though the fundamental idea on which the library is constructed is the same as that of others. To begin, we must clone the setup repository: git clone github.com/react-boilerplate/react-boilerpl.. my-react-boilerplate
The setup script needs to be run when we enter the cloned repository:
cd my-react-boilerplate
npm run setup
Then comes the start script, which starts the development server:
npm start
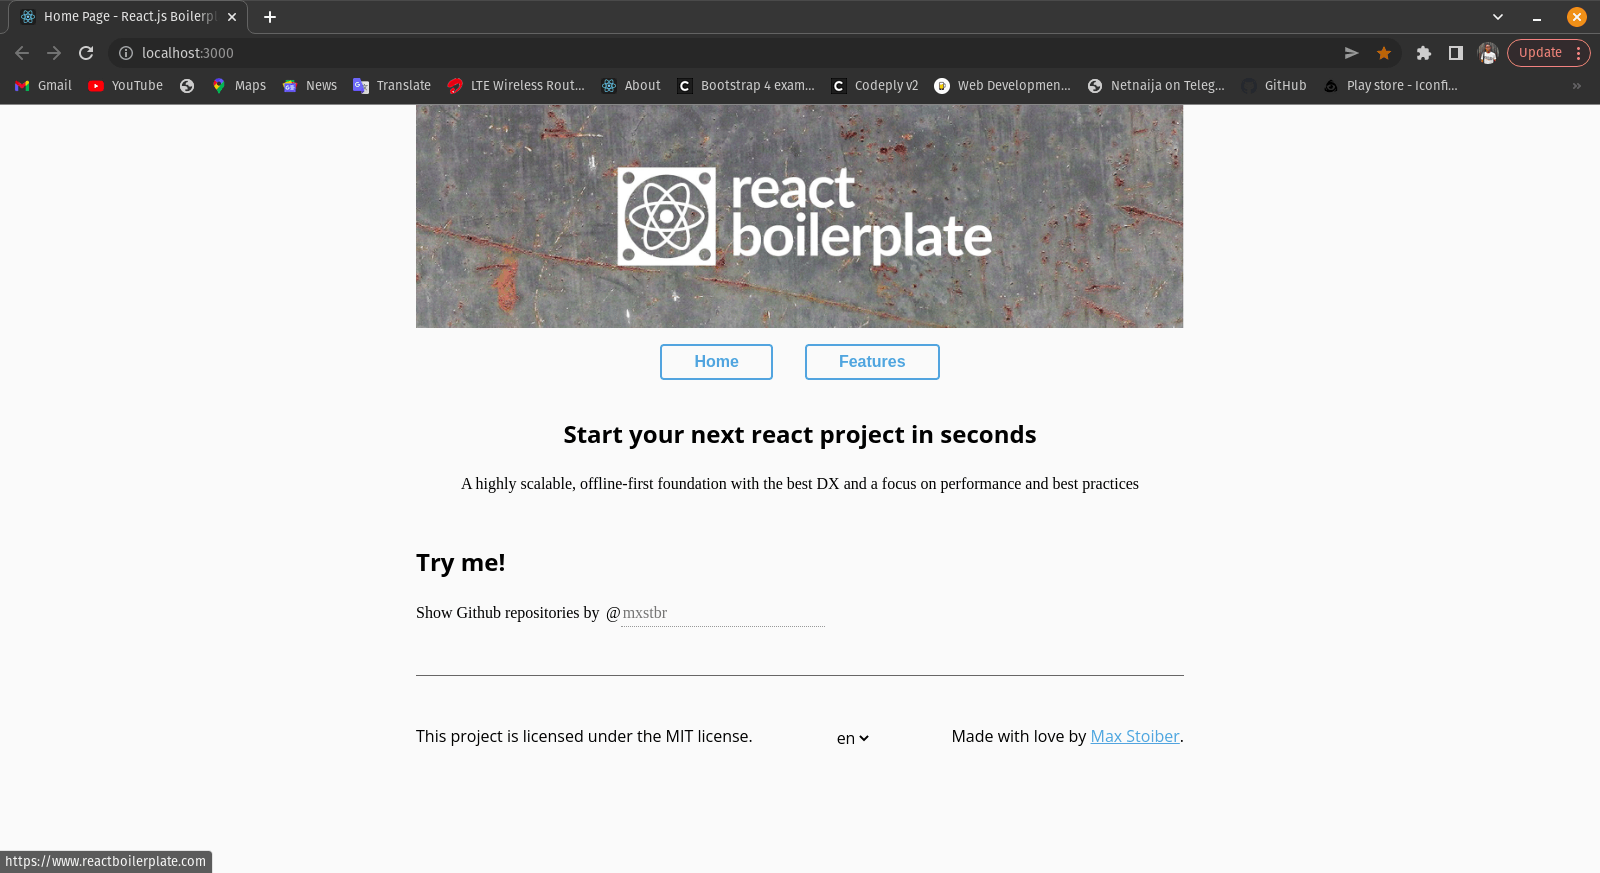
This brings up the default homepage:
Pro's
- Support for modern JavaScript features like dynamic imports is provided right out of the box, making life easier for developers.
- Direct support for CSS modules and files.
- Node-sass support for SCSS.
- Support code splitting with dynamic imports and routing based on React Router.
Con's
- Extremely opinionated;
- Out of date, with the most recent commit in April 2019
- Extensive Package library
Alternative: React Starter Kit
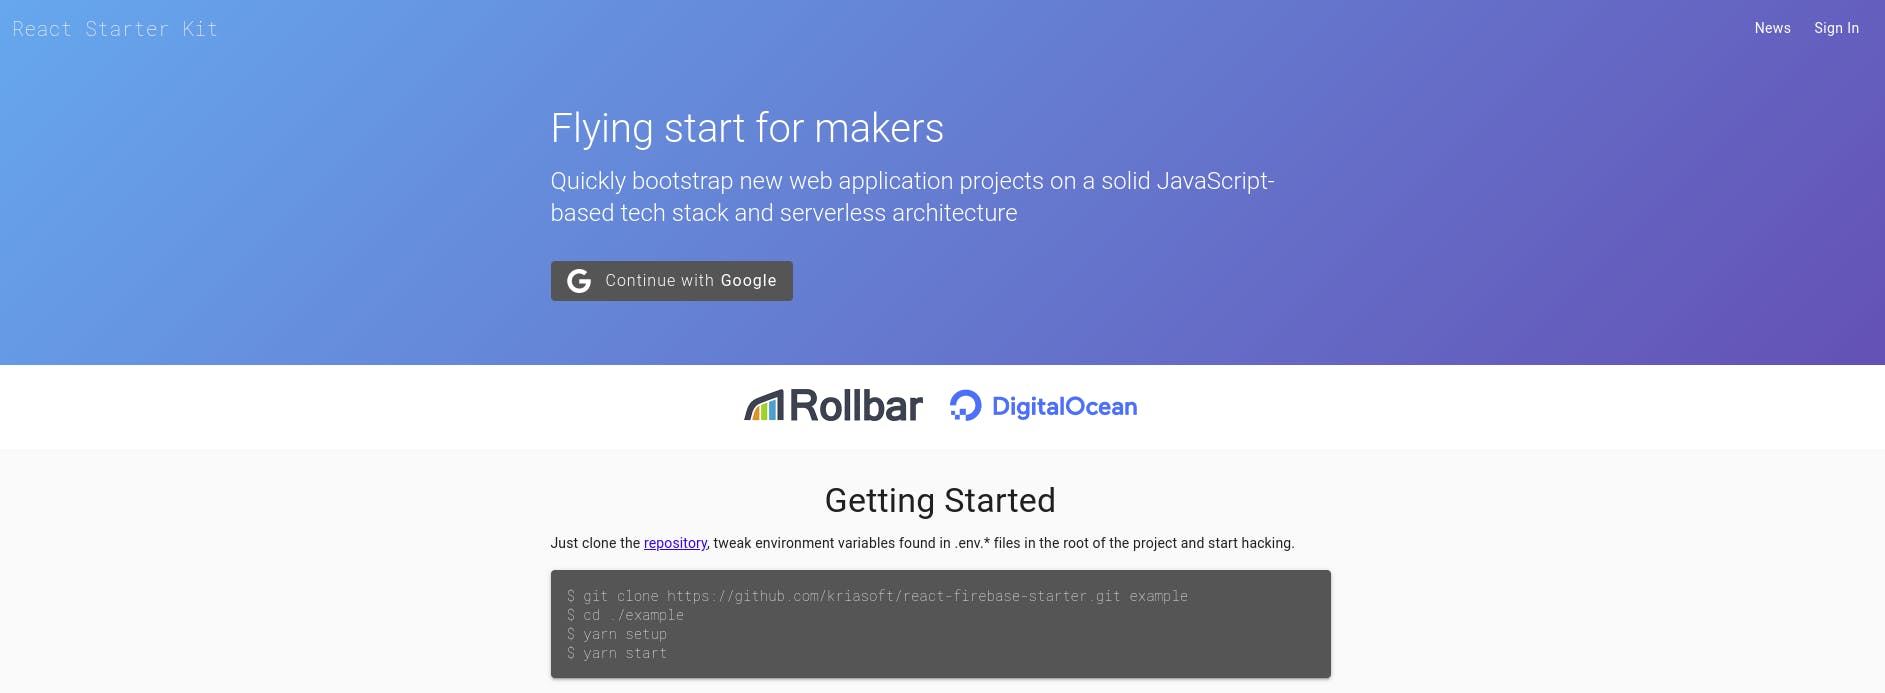
Let's examine React Starter Kit, which describes itself as a boilerplate for isomorphic web projects. Before we conclude, it's important to note that the website for React Starter Kit describes it as "extremely opinionated," which suggests that it has already selected our tech stack for us, which consists of Node.js, Express, and GraphQL.
Getting Started
The most recent repository will be cloned to serve as the starting point for the boilerplate:
git clone https://github.com/kriasoft/react-firebase-starter.git example
Install the dependencies by first moving into the newly created folder:
cd example
yarn install
Also, launch the development server as follows:
yarn start
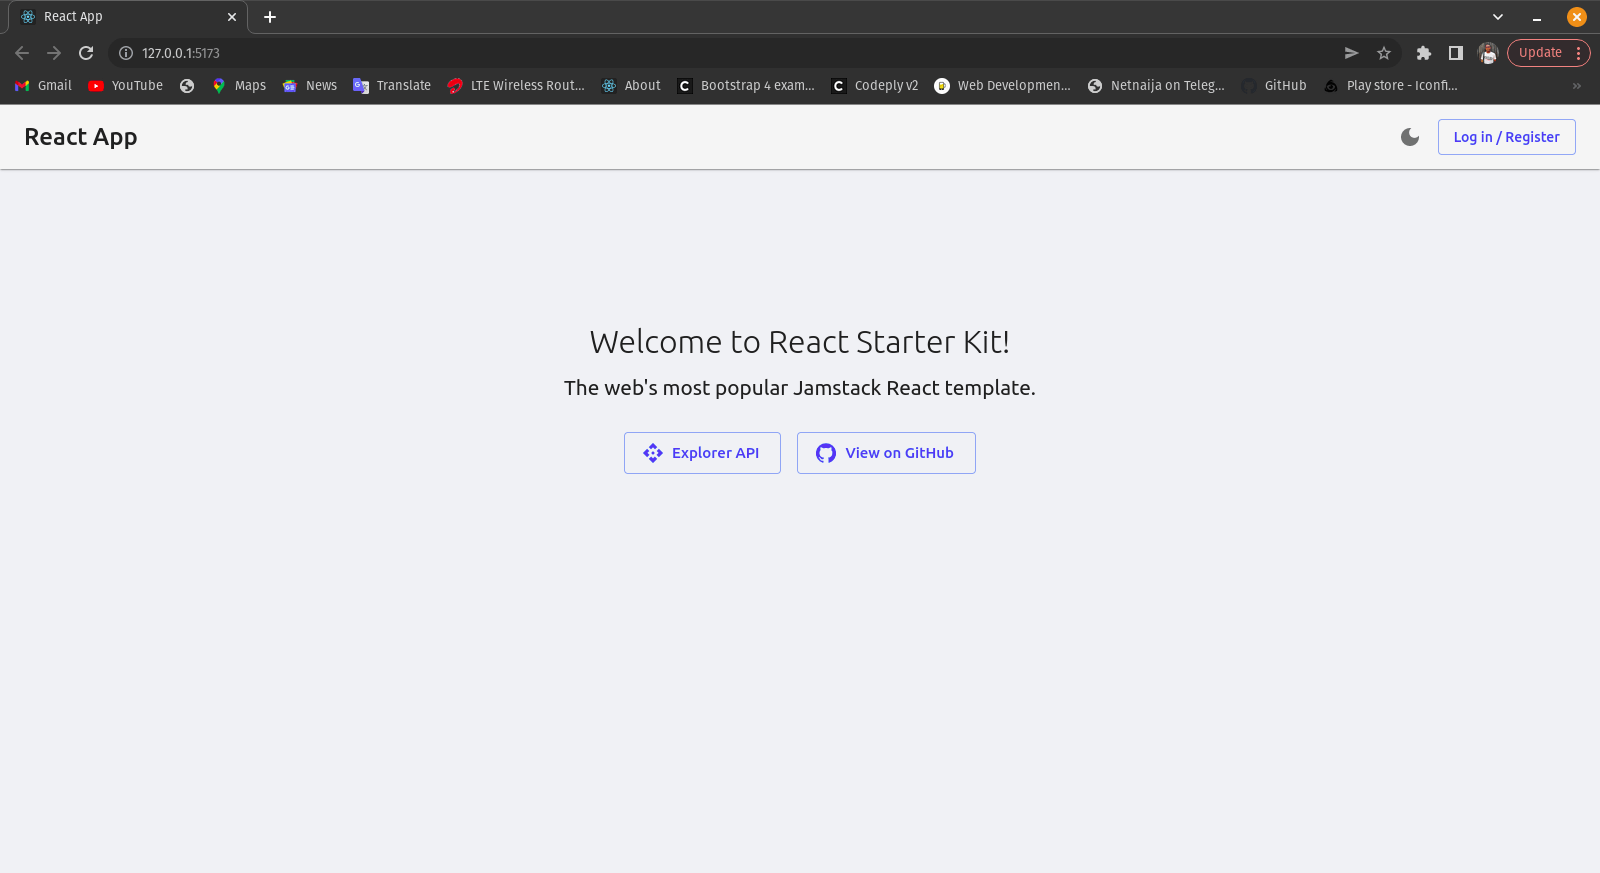
That gives us the simple boilerplate homepage we have here:
Pro's
- Similar boilerplate that treats server (Node.js) operations as if they were SSR.
- Apollo's support for GraphQL.
- Instructions on how to implement common use cases.
- Static type checking in Flow and React testing in Enzyme.
Con's
- There are a lot of dependencies.
- The size of the package is enormous.
- Extremely opinionated
Conclusion
We bring the finest React boilerplates list to a close. As we can see, everyone has a particular set of benefits and drawbacks. As a result, we will take a range of actions depending on the use case at hand, the developer, and the intended result. Thankfully, we have lots of choices.

